Dan Steeves
Dan Steeves
Matias Mini Tactile Pro Switch Replacement
The space bar stopped working on my keyboard. I ordered a new switch from Matias and replaced it myself. This is an easy project for anyone with a little soldering experience. You can probably do it if you have no soldering experience, but you’ll need to research the soldering skills a bit more elsewhere.
Switches
I ordered new switches through Matias customer support. They charged me $1 per switch plus a small shipping charge, which seems fair.
Tools
- Phillips screwdriver, #2 or close
- Spudger or knife
- Soldering iron
- Ideally some soldering wick or a solder sucker
- Keycap puller (I use one that also fits caps on Ergodox EZ Cherry MX Brown)
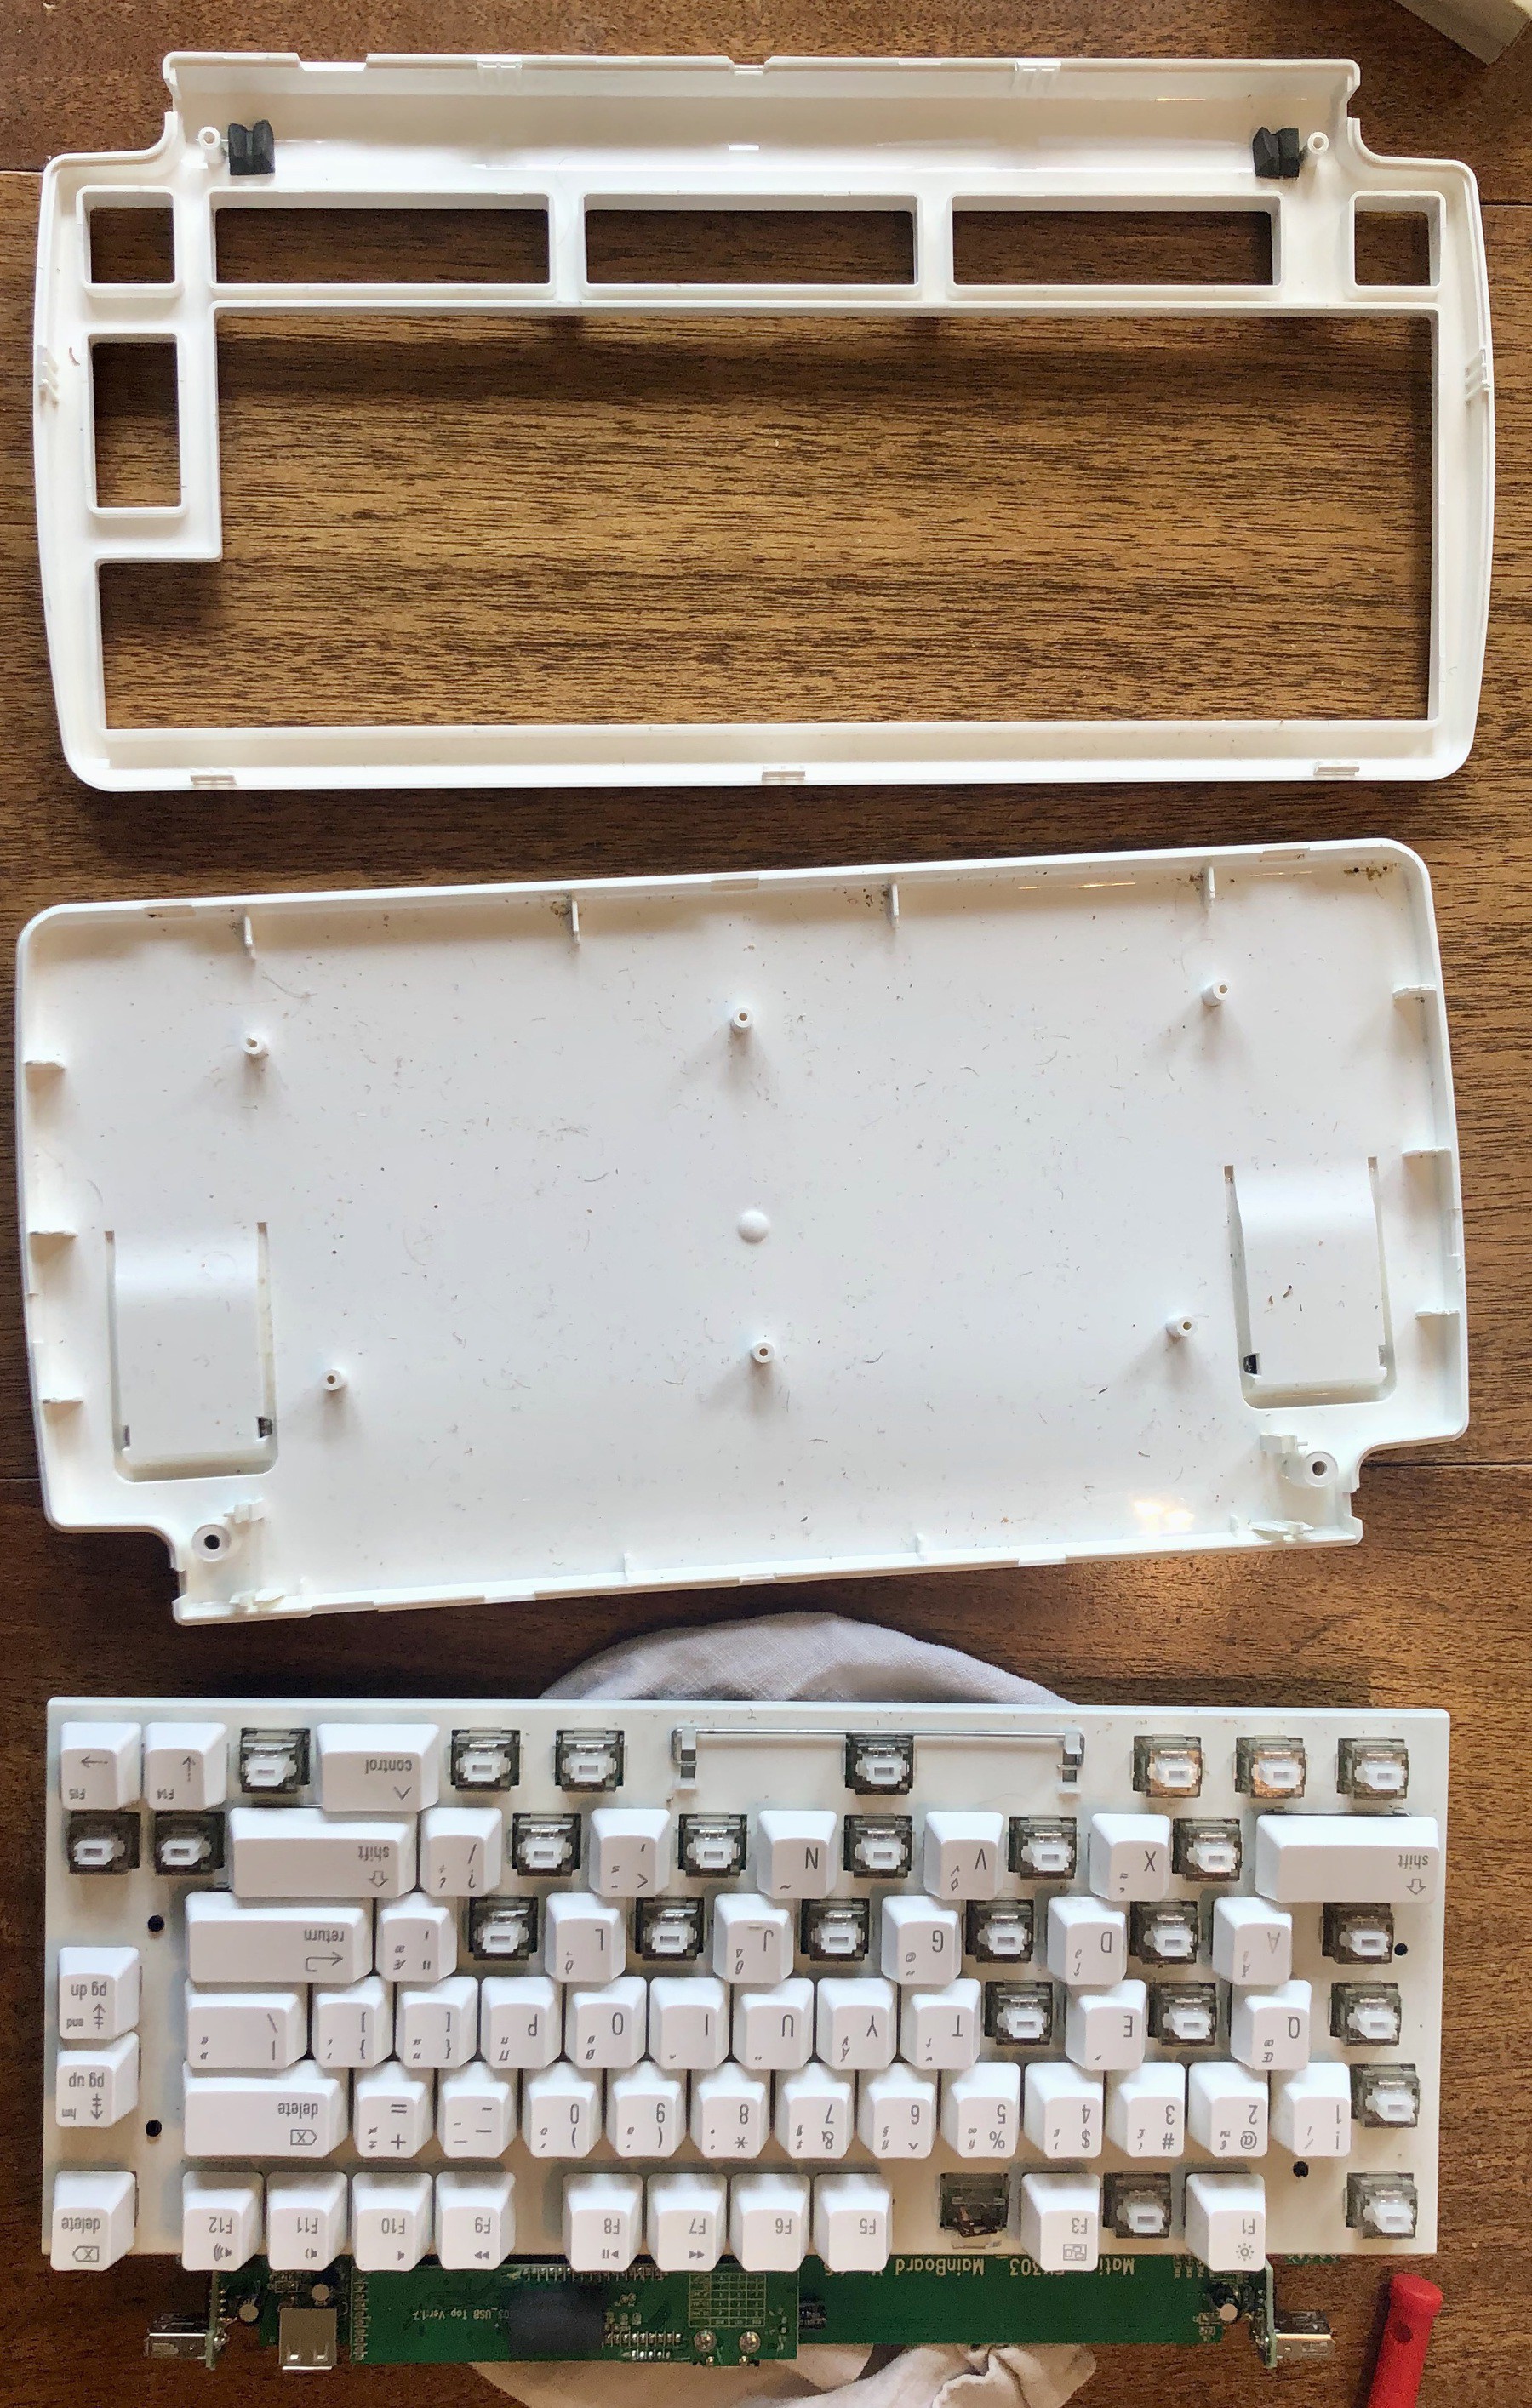
Open the case
Remove two screws on the bottom of the case.
The case will open by hinging at the front, in front of the space bar. Working gently with the spudger or knife, open the back of the case (behind the function keys) by gently prying near and pressing on the two tabs. Then there are two more tabs, one on each side.
The case will sort of “hinge” open. After opening the board will lift out freely.
Prepare to solder
Remove the two side USB ports and the circuit board with the main mini-USB connection. I don’t know, but I imagine it is a good idea not to solder with the chips on that attached.
Mark the switches you need to remove on the back of the board with a pen or marker so you know which ones to remove. Remove the caps from the switches to be removed if you haven’t already.
Remove switch
If you have a stand to put the board in and some soldering wick or a solder sucker, you can probably just remove the solder on the two pins and watch the switch drop out. If you’re missing those tools like me, you can hold the switch from the front and wiggle it out side to side as you alternately heat the solder on each pin.
Add new switches
Again if there’s no solder now this is probably pretty easy for you. I had to wiggle the switch in side to side while alternately heating the leftover solder. Once the switch was in place I added a bit more solder to each pin to ensure a good connection.
Test, clean, and re-assemble the board
At this point, press in the layered PCB with the main connection, and test the board to make sure new switches and soldered connections are good. This is a good time to clean everything. Wipe it down, use some compressed air or a vacuum brush attachment, and take some damp cotton swabs to the nooks and crannies you can’t normally get to.
To reassmeble, press on the USB ports and the layered board with the main connection. Lay the board into the bottom of the case. Match the tabs on the top cover in front of the space bar with those on the base, then hinge it back over the switches. Gently press to close all of the snap-in tabs. Insert the two screws from the bottom of the board.
In closing
Hopefully this will help or encourage someone to repair another Matias board. Feel free to reach out if you have any questions.